

 English
  中文简体
中文简体  русский
  Français
  عربى
عربى  Español
Industry News
How to Access the Condensate Drain Pan: A Step-by-Step Guide for Homeowners
Your air conditioner runs, but a puddle spreads across the floor near the indoor unit. The safety switch keeps tripping, or a sour smell appears every time the system cycles on. The cause is usually the condensate drain pan, the tray under the evaporator coil that collects moisture and sends it to the drain line. Reaching the pan takes about ten to twenty minutes with a screwdriver and a flashlight, and it does not need a technician. The order matters more than the location: shut off the power, remove the correct panel, and the pan is almost always directly beneath the coil. This guide explains exactly how to access the condensate drain pan on central air handlers, ductless mini-splits, and packaged units, and what to check once it is open.
Content
- 1 What the Condensate Drain Pan Is and Where It Sits
- 2 Safety First: Turn Off Power Before Opening the Cabinet
- 3 Tools You Will Need
- 4 How to Access the Condensate Drain Pan Step by Step
- 5 What to Inspect and Clean While You Are In
- 6 When to Replace the Condensate Drain Pan
- 7 Frequently Asked Questions About Accessing the Condensate Drain Pan
What the Condensate Drain Pan Is and Where It Sits
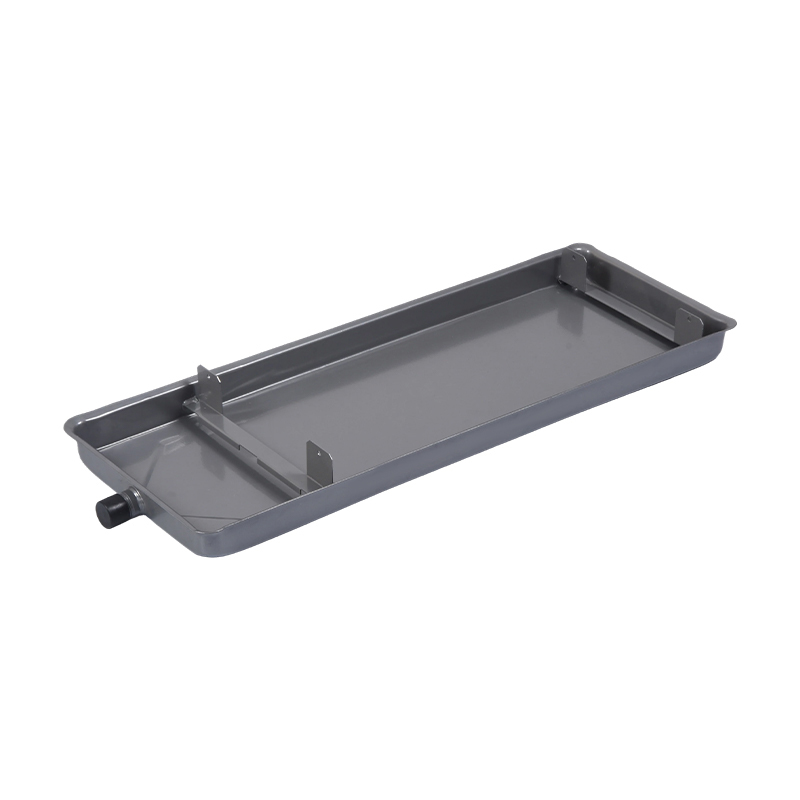
The condensate drain pan is a shallow metal or plastic tray that captures water dripping from the evaporator coil and guides it to the condensate drain line. Because it sits in a damp, dark space, it is also the first component to inspect when water appears near the unit. If you want a broader overview of how the condensate drain system works, start with the airflow path: warm air passes over the cold coil, moisture condenses into water, and the pan funnels that water out of the unit.
Where you will find the pan depends on the system type.
- Split-system central air handler: inside the main cabinet, directly under the evaporator coil, behind the large front access panel.
- Ductless mini-split: inside the wall-mounted indoor unit, below the coil and above the lower air outlet, behind the front casing.
- Packaged unit: near the base of the cabinet, behind a side access panel below the coil compartment.
- Window or portable unit: at the bottom rear of the chassis; many window models use a slide-out tray.
Air handler with the front panel removed: the coil sits above the condensate drain pan, with the drain line leaving the cabinet.
Safety First: Turn Off Power Before Opening the Cabinet
Conclusion first: never remove a drain pan while the air handler is live. The blower motor, indoor fan, and electrical connections are inside the same cabinet, and a screwdriver can easily contact a live terminal. Shut off power at the breaker or the service disconnect next to the outdoor unit; turning off the thermostat alone is not enough.
- Switch the thermostat to Off.
- Flip the breaker or pull the disconnect.
- Wait two to three minutes for the blower and motor to stop.
- Wear work gloves; sheet metal edges are surprisingly sharp.
- Leave the sealed refrigerant circuit untouched; accessing the pan does not require it.
If you only plan to treat the pan through a drain-line tee, you still need to power down only when opening panels. For any full access job, keep the power off until the panels are back in place.
Tools You Will Need
A standard access and cleaning job needs nothing specialised.
| Tool | Why you need it |
|---|---|
| 5/16-in nut driver or Phillips screwdriver | Remove front access panel screws and clips |
| Flashlight | See the coil, pan, and drain opening clearly |
| Wet/dry vacuum | Pull standing water and sludge out of the pan |
| Small brush or stiff wire | Clear algae and debris from the drain hole |
| Work gloves | Protect your hands from sharp metal edges |
| Pan treatment tablets | Reduce algae growth after cleaning |
How to Access the Condensate Drain Pan Step by Step
For most central air handlers, you can reach the pan through the large front access panel in about ten minutes.
- Power down at the breaker or disconnect.
- Remove the front access panel with a 5/16-in nut driver or screwdriver; store the screws in a cup.
- Lift the panel off. Some systems use clips rather than screws.
- Follow the refrigerant lines up to the evaporator coil; the drain pan is directly underneath it.
- If the coil blocks the pan, loosen the lower coil support bracket or remove the return-air duct panel on the back of the cabinet.
- Slide the pan out slowly and keep it level to avoid spilling, or clean it in place if it cannot be removed.
Ductless Mini-Split Units
Mini-splits hide the pan behind the front casing. Push the casing up and out of its top tabs, unclip the air filter, and you will see the coil and the pan below it. Most mini-split pans stay in place; vacuum and wipe the pan without removing it.
Accessing the Pan Through the Drain Line
If you only need to flush the pan or drop in treatment tablets, use the 3/4-inch PVC drain line near the air handler. A tee fitting on that line is the standard access point: remove the cap, pour in a cup of diluted vinegar or clean water, let it sit for ten minutes, then flood the line to confirm flow. This reaches the pan area without removing any panel.
Relative access difficulty by unit type; values are an illustrative rating, not measured test data.
What to Inspect and Clean While You Are In
Once the pan is visible, check these four things before cleaning:
- Standing water that does not drain, which points to a blocked condensate line.
- Cracks, rust, or corrosion in the pan surface.
- Black mould or algae film on the pan walls.
- Debris packed against the drain opening.
Clear loose material by hand or with a wet/dry vacuum, flush the pan with clean water, and brush the drain opening. For algae, a half-and-half mix of water and white vinegar works well; pan treatment tablets placed in the pan will keep growth down for the season. Then follow the condensate line away from the unit and flush it from the tee. Industry maintenance guides consistently show that blocked drain lines and dirty air filters cause most overflow callouts, not the pan itself.
When to Replace the Condensate Drain Pan
Accessing the pan is also the moment to decide whether it has reached the end of its life. A small crack only grows under constant moisture, and a rusted-through pan will eventually wet the cabinet, insulation, and floor below.
- A visible crack or hole.
- Rust that flakes or leaves a rough surface.
- Warping that makes water pool on one side and never reach the drain outlet.
- Repeated overflow even after the line is clean.
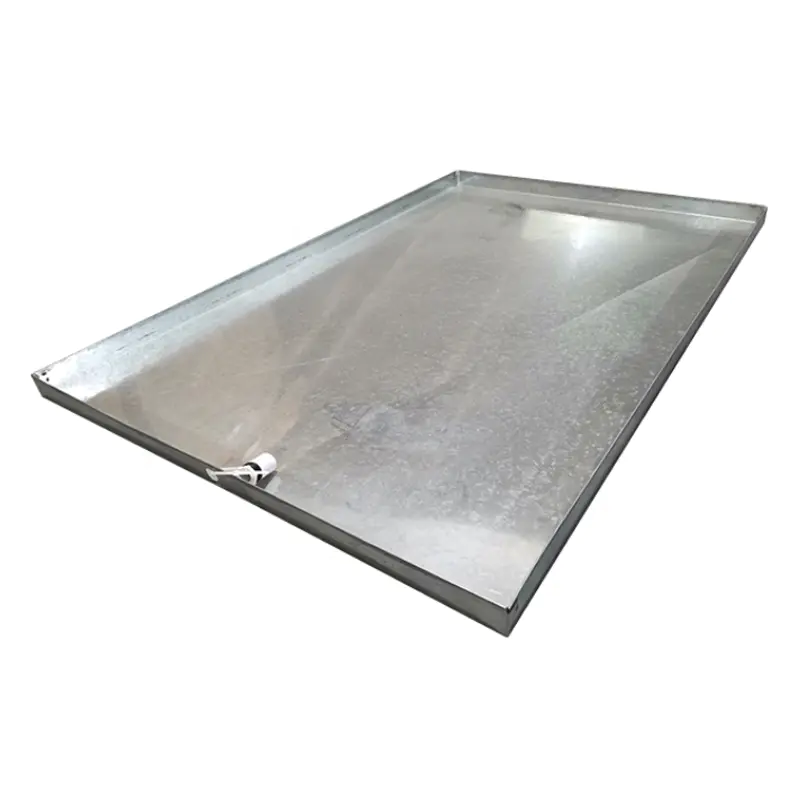
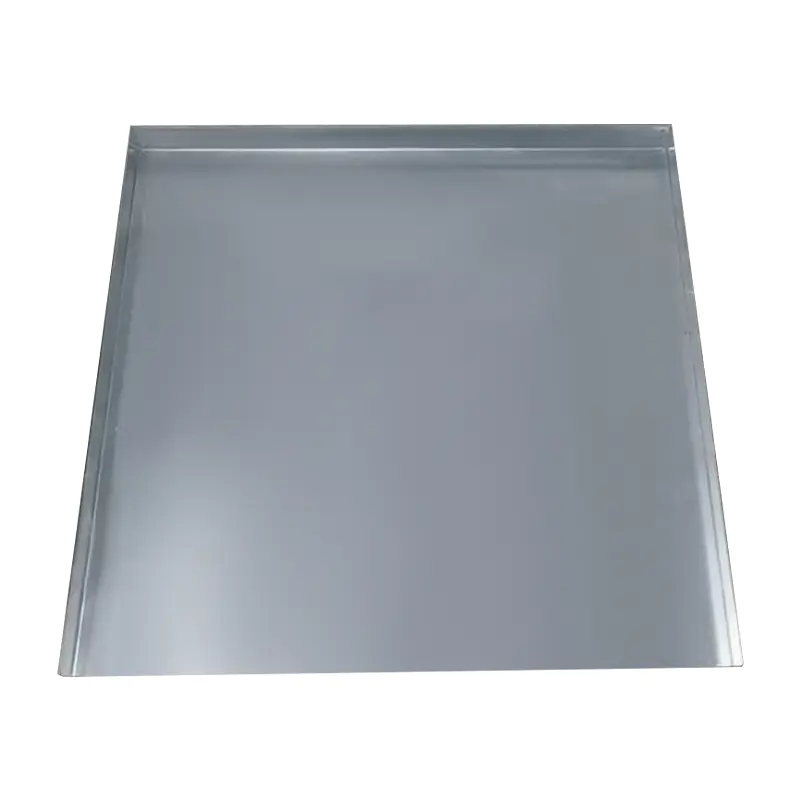
Replacement is usually a one-for-one swap. Measure the pan footprint, confirm the drain connection size and location, and match the original shape. A galvanized steel AC drain pan with the same dimensions is the most direct replacement for old plastic or cold-rolled pans.
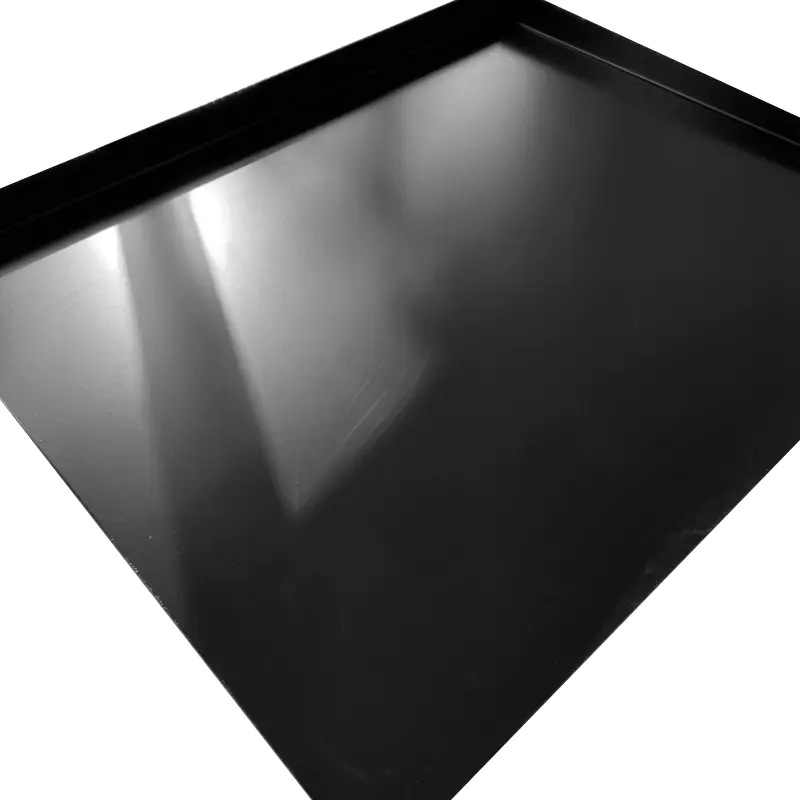
If the original pan rusted through once, upgrade the material. A stainless steel condensate water collection tray resists corrosion much longer in humid climates, and a slightly thicker gauge adds stiffness without complicating installation.
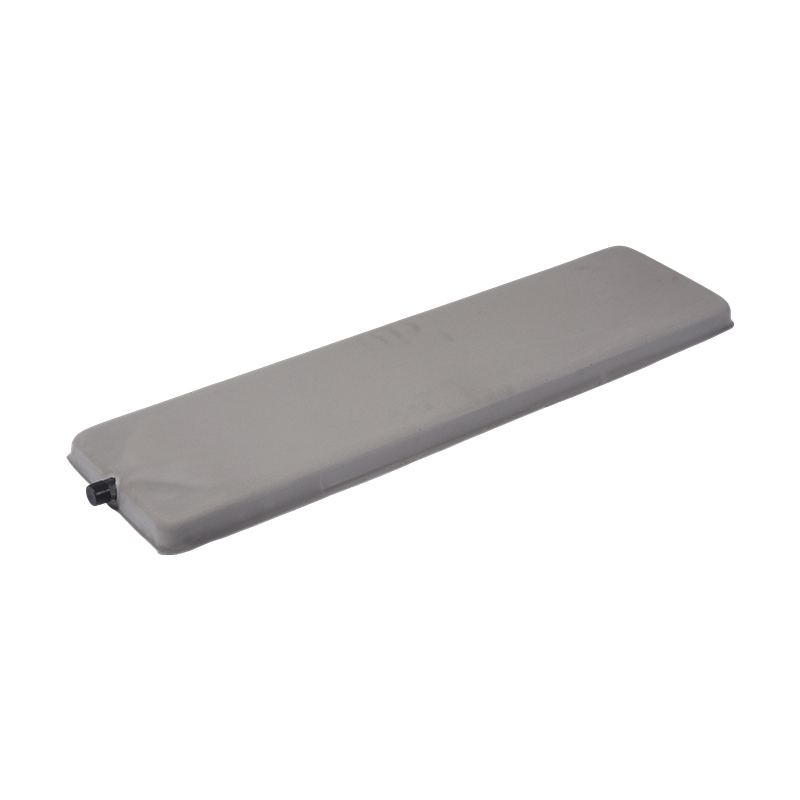 ODM/OEM Stainless steel water collection tray Suppliers, Company - Cixi ChenfengCixi Chenfeng Electric Co., Ltd is a China Stainless steel water collection tray supplier and company, We provide ODM/OEM customization s...View Product →
Cixi Chenfeng Electric Co., Ltd. is a professional enterprise in the electrical field, focusing on the development and production of central air conditioning accessories. As a professional air conditioner parts manufacturer and sheet metal parts factory, the company supplies condensate drain pans and other custom HVAC sheet metal parts, including brackets and water trays. With precision manufacturing and strict quality control, it provides solid quality assurance for air conditioning systems.
Frequently Asked Questions About Accessing the Condensate Drain Pan
Q1: Do I need to turn off the power before accessing the condensate drain pan?
Yes. Switch off the thermostat, flip the breaker, or pull the disconnect before removing any access panel. This protects you from the blower motor and live wiring.
Q2: Where is the condensate drain pan located on a mini-split?
Inside the wall-mounted indoor unit, directly under the evaporator coil. Remove the front casing, detach the air filter, and the pan is the tray below the coil.
Q3: Can I clean the pan through the drain line without opening the unit?
If the condensate line has a 3/4-inch tee fitting, pour diluted vinegar or drop pan treatment tablets through it. This treats the pan area without removing panels.
Q4: How often should I inspect the condensate drain pan?
At least twice a year, before the peak cooling months and before the heating season. Units in dusty or humid climates may need a check every three months.
Q5: Is a cracked condensate drain pan an urgent repair?
It can become one quickly. A crack lets water reach the cabinet, insulation, and floor, promoting rust and mildew. Replace the pan as soon as you see a fracture.
Q6: Which material is best for a replacement drain pan?
Stainless steel and galvanized steel offer the longest service life. Stainless steel resists corrosion best in humid climates; galvanized steel is a durable and budget-friendly option.
-
Galvanized Steel Condensate Collection Pans for Ai...
-
Our Rubber Vibration Isolator Pads for HVAC System...
-
Galvanized Steel AC Drain Pans are specially desig...
-
Custom Square Aluminum & Stainless Steel Drain...
-
The air conditioner condensate tray is a critical ...
-
Stainless Steel (201) Price: 8 USD (Other material...


Contact info.
+86 17398066504 [email protected]
+86 17398066504
[email protected]
[email protected]
+86 17398066504
[email protected]
 +86-0574-63301198
 +86-13706742730
 No. 939, Qiye Road, Zhouxiang Town, Cixi City, Ningbo City, Zhejiang Province, China
Hot Products
Stainless Steel Equipment & Folding BBQ Grill Series Air Conditioner Drain Pan And Outdoor Unit Bracket Ventilation FansGet A Free Quote
Copyright © 2025 by Cixi Chenfeng Electric Co., Ltd All Rights Reserved. Air Conditioner Parts Manufacturers Stainless Steel Sheet Metal Parts Factory
