

 English
  中文简体
中文简体  русский
  Français
  عربى
عربى  Español
Industry News
AC Condensate Drain Line Installation: Complete Step-by-Step Guide for Homeowners
Imagine you are about to finish a mini-split installation, and the moment you power on the unit, the float safety switch trips. The usual suspect is the condensate drain line: the trap is missing, the pipe slopes uphill, or the outlet sits too close to a wall. The good news is that a reliable drain line does not require guesswork. If you keep the trap depth at about 3 in (7.6 cm), maintain a minimum slope of 1/4 inch per foot (2 cm per meter), and insulate every horizontal run, you can prevent most drip feedback problems. This article walks you through the design choices, material selection, and a step-by-step checklist so that your next installation passes the water test on the first try.
Content
Why the Condensate Drain Line Deserves More Attention
Condensate production is not a minor trickle. A typical 3-ton cooling system at 60% relative humidity removes moisture at a steady rate. If that water cannot leave the system, it backs up into the drain pan, the float switch shuts the unit off, or the moisture simply overflows and stains ceilings, rusts ductwork, and breeds mold. Left unchecked, a weeping drain line can also degrade the insulation on nearby pipes and create conditions for bacterial growth.
According to HVAC service reports, condensate line clogs and improper traps are among the most common callouts during summer. They are also inexpensive to prevent. The cost of a few feet of PVC and a fitting is negligible compared to water damage repair or a failed compressor. This is why a small investment in correct installation pays off quickly. Many technicians also recommend a regular annual flush with clean water or a pan treatment, but that routine only works if the line was installed properly in the first place.
Key Design Considerations Before You Start
Indoor Design: Trap, Vent, and Float Switch
The trap is your first line of defense. It prevents air from blowing through the drain while still allowing water to leave. A trap depth of 3 in (7.6 cm) is a common standard for residential systems. Make sure the vertical tee that creates the trap is not reused as a vent; otherwise, you create a double trap, which blocks drainage. The same rule applies when you connect a condensate pump: do not double-trap the pump outlet.
Vents should be tall enough to keep water from pocketing. If the vent terminates too low, condensate can be forced out of the overflow port or create a siphoning action. Float switches are another key element. Place a float switch on the primary drain port or in the secondary port, and wire it to shut down the system. Redundancy is safer: many installers add a float switch to the pan as a final backup. In a high-humidity attic, two switches can prevent a catastrophe with very little extra cost.
Outdoor Design: Outlet Positioning
The outlet should end at a visible point, at least 6 inches (15 cm) away from the foundation or any wall. This prevents water from running back into the structure and keeps the discharge out of plant beds. In hot climates, avoid planting tall grass around the outlet that can hide clogs. In colder climates, consider a drain line heat cable or an insulated drain pan to keep the outlet from freezing. If the outdoor discharge is below grade, use a sealed drain terminal or a small catch basin to prevent insects and debris from entering.
Choosing the Right Drain Pan and Materials
A solid installation starts with a correct drain pan. The pan catches condensate and channels it to the drain port, so the material and shape matter. In the field you will see galvanized steel, stainless steel, cold-rolled steel, and plastic. Galvanized steel is economical and good for many residential units, but it can corrode in coastal areas. Stainless steel handles moisture best, making it a long-term choice for high-humidity or commercial installations. Cold-rolled steel pans require proper coatings to stay rust-free.
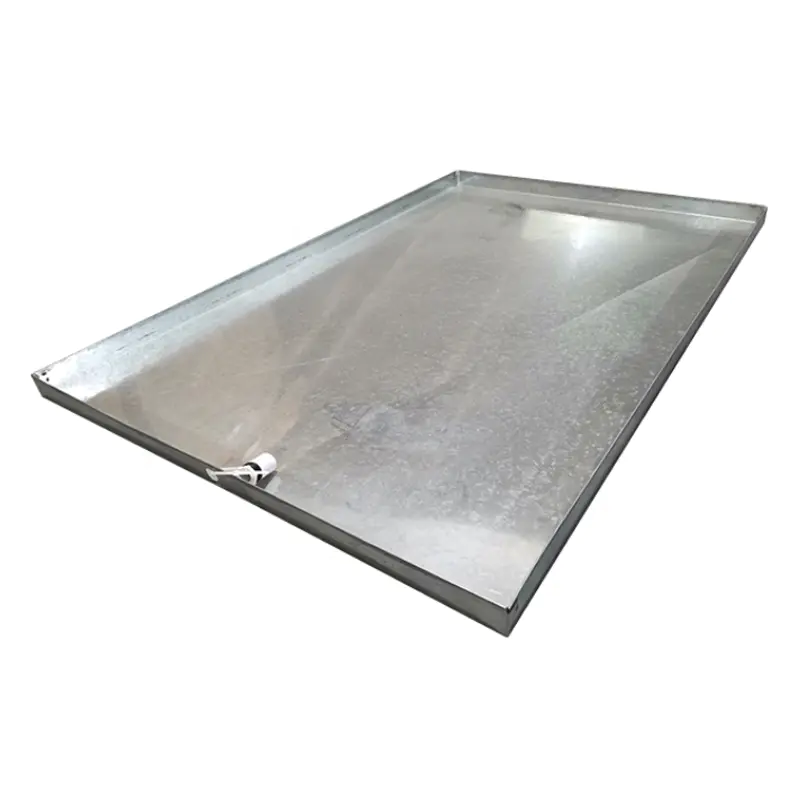
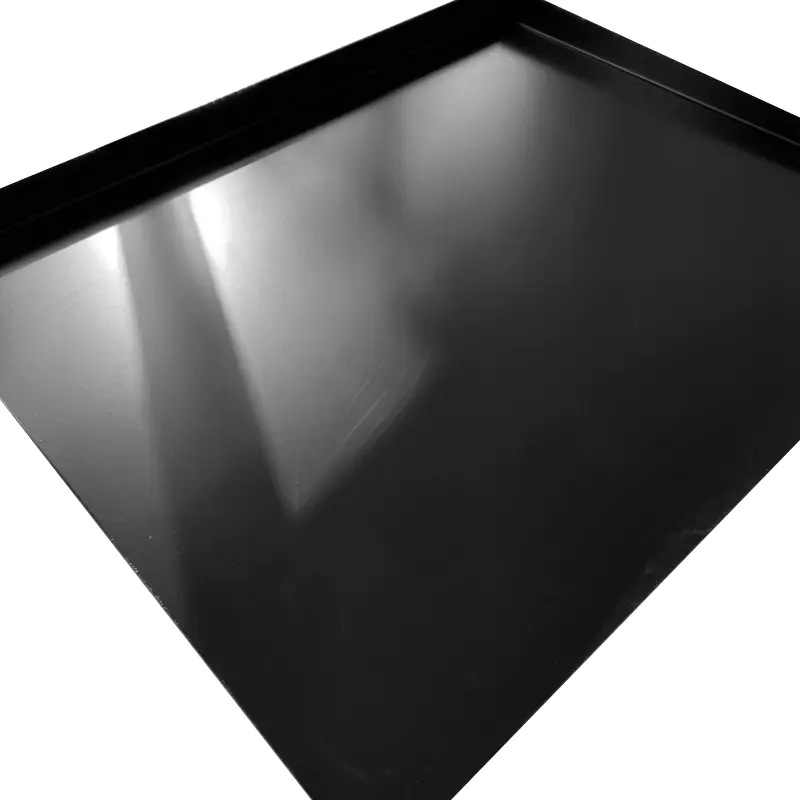
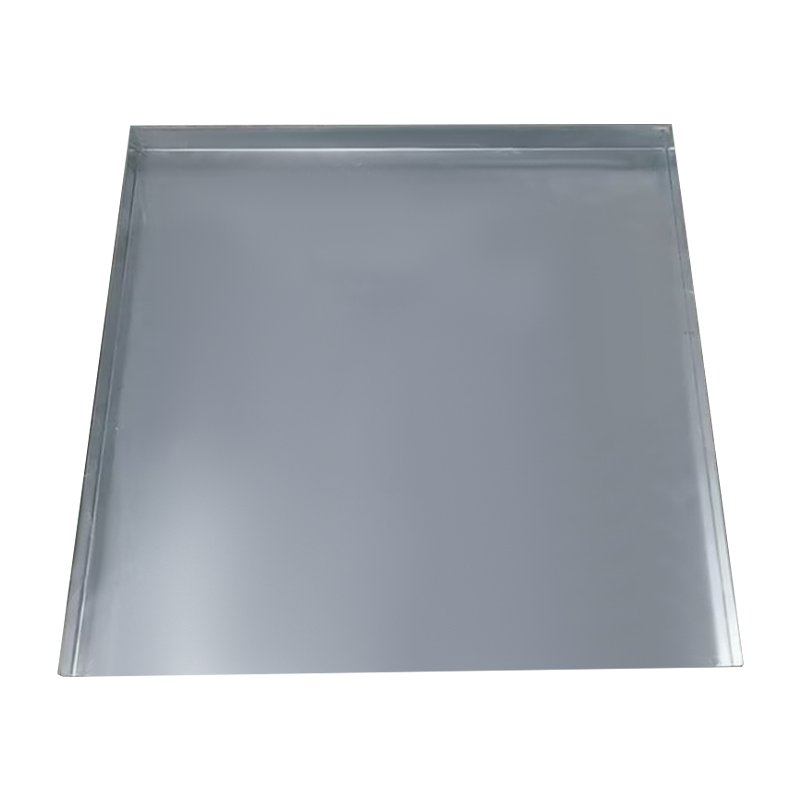 Galvanized Steel Drain Pan for HVAC Condensate CollectionThis galvanized steel pan offers reliable condensate drainage for air conditioning units, with corrosion resistance and customizable dimensions suitable for residential or light commercial installations.View Product →
Your drain pan should also match the indoor unit's footprint. A too-shallow pan will not hold water long enough to drain, and a too-small outlet can choke quickly. Air conditioner condensate trays are available in multiple sizes and materials, so a modular selection can accelerate procurement. This is especially relevant for OEM teams that need a reliable factory partner.
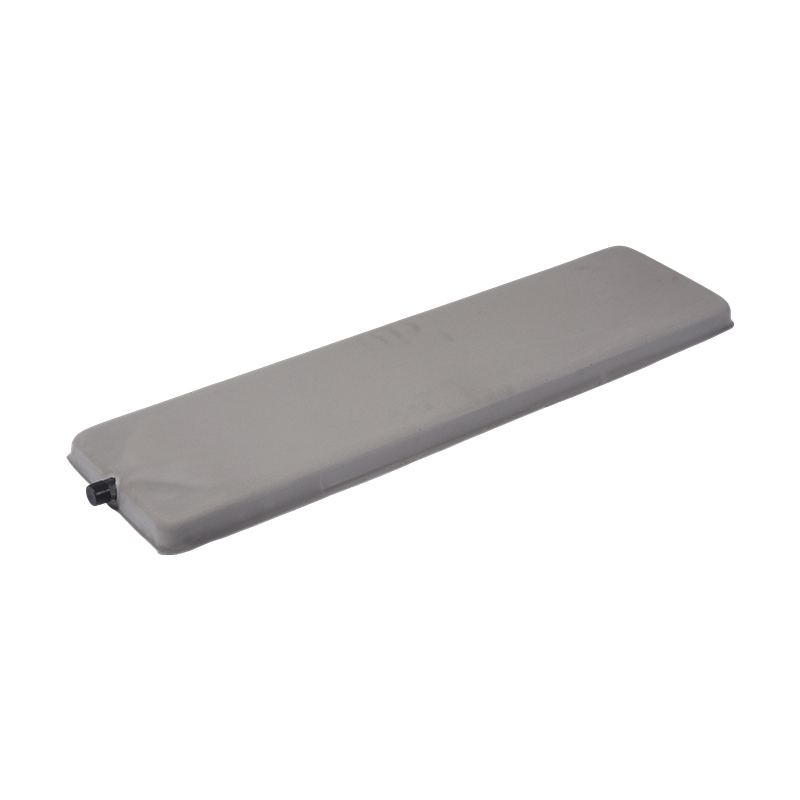 Stainless Steel Condensate Tray for High-Humidity EnvironmentsCrafted from premium stainless steel, this collection tray resists rust and corrosion, making it ideal for demanding HVAC, commercial, or industrial applications where moisture control is critical.View Product →
When you buy a drain pan, look for formed heights, hemmed edges, and drain port orientation. These details avoid cracks and leaks during installation. A pan with a raised flange helps contain water without seeping around seams.
| Material | Corrosion Resistance | Typical Use Cases |
|---|---|---|
| Galvanized steel | Good | Standard residential units |
| Stainless steel | Excellent | Coastal or high-humidity environments |
| Cold-rolled steel | Moderate | Indoor commercial HVAC |
| Aluminum | Moderate | Lightweight custom panels |
At this point in the procurement process, the manufacturer matters. Cixi Chenfeng Electric Co., Ltd. is a professional enterprise in the electrical field, focusing on the development and production of central air conditioning accessories. We are a professional air conditioner parts manufacturer and sheet metal parts factory. With excellent technical strength, reliable product quality and good market reputation, the company occupies an important position in the central air conditioning accessories industry. We specialize in the production of air conditioning accessories and other custom sheet metal parts, including brackets, water trays, etc., with precision manufacturing and strict quality control, we provide solid quality assurance for air conditioning systems. Our factory is ready to support custom specifications, so you can source drain pans that exactly match your system.
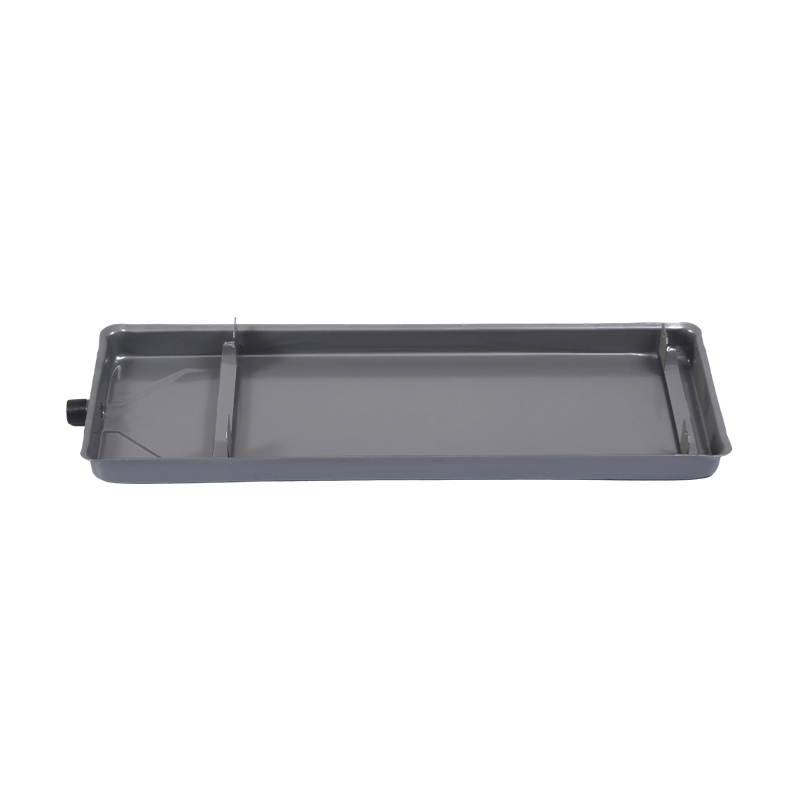 Custom Air Conditioner Condensate Tray for OEM ProjectsThis condensate tray is manufactured with precision sheet metal techniques, offering flexible sizing and drainage options to match specific unit requirements, ensuring reliable performance in diverse installations.View Product →
Step-by-Step Installation Checklist
Once the pan and materials are in hand, follow this checklist to avoid the most common mistakes. Dry-fit everything before you apply glue; you will save yourself a lot of headaches later.
- Dry-fit every connection. Confirm the trap and vents fit before applying glue.
- Test the slope. Use a level to verify a consistent 1/4 inch per foot along the horizontal run.
- Connect the drain port carefully. Hand-tighten fittings, avoid over-tightening, and use a cleaner-primer before cementing PVC.
- Keep the primary drain lower than the pan outlet. The secondary port should be at a higher level.
- Insulate horizontal runs and the trap. This keeps condensation from dripping from cold surfaces.
- Prime the trap. Pour a cup of water into the port to seal the liquid loop.
- Check float switch wiring. Make sure it is wired as a safety interlock and that the switch sits in a level position.
- Run the system and observe. Confirm no leaks at the outlet and that water exits in a steady stream.
If the unit is in an attic or crawlspace, a condensate pump with a float switch can simplify drainage when gravity is not available. Test the pump by pouring a small amount of water into the reservoir and confirming the switch triggers the pump. In installations with a secondary overflow pan, wire the switch to the thermostat or a contactor so the system stops before the pan overflows.
Common Questions About Condensate Drain Line Installation
Q1: How deep should a condensate trap be?
A 3-inch depth is standard. It is deep enough to hold a seal without adding excessive resistance to the drain.
Q2: Can I use a condensate pump on a standard drain line?
Yes. Many installations use a pump when gravity is not available. Ensure the float switch is installed on the reservoir and that the outlet is not double-trapped.
Q3: What happens if my condensate line freezes?
The system will block and may trip the float switch. Insulate the outdoor section and consider low-voltage heat tape in cold climates.
Q4: How often should I clean the drain line?
At least once per year, usually before cooling season. Flush with white vinegar and plain water, or use a mild pan treatment to prevent algae buildup.
-
Galvanized Steel Condensate Collection Pans for Ai...
-
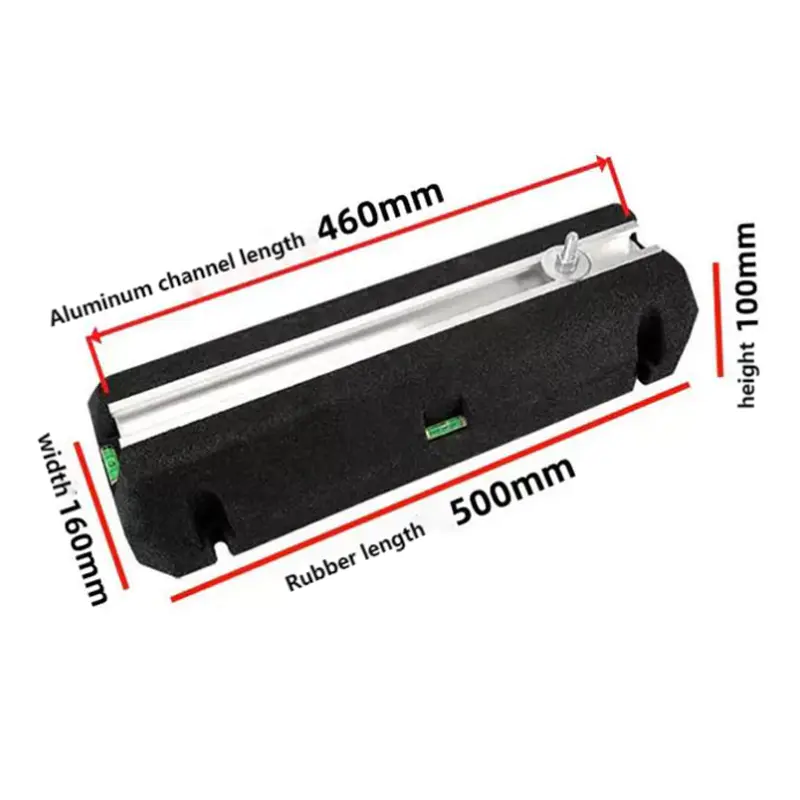
Our Rubber Vibration Isolator Pads for HVAC System...
-
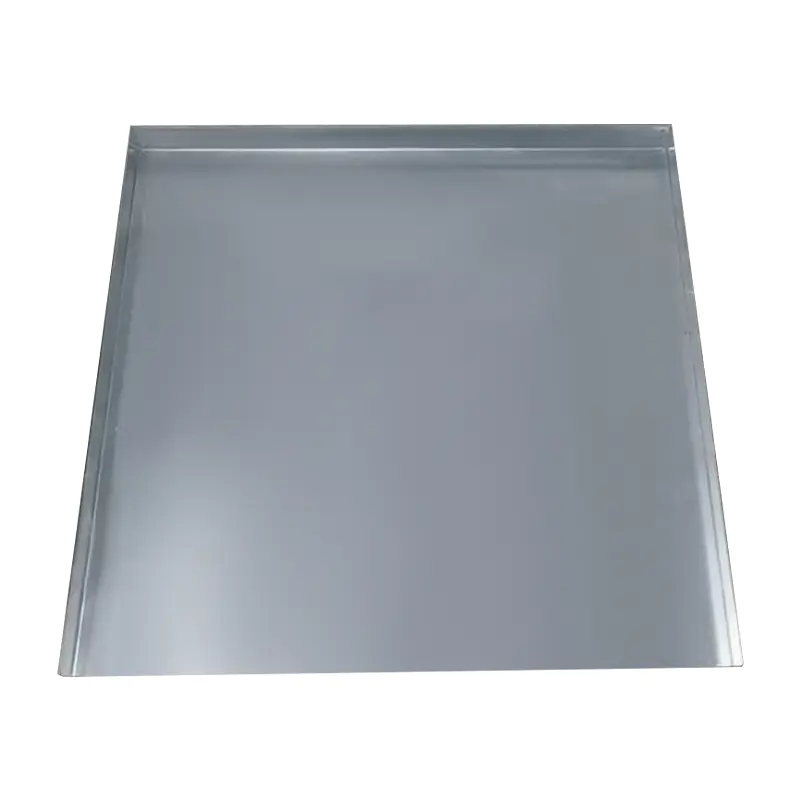
Galvanized Steel AC Drain Pans are specially desig...
-
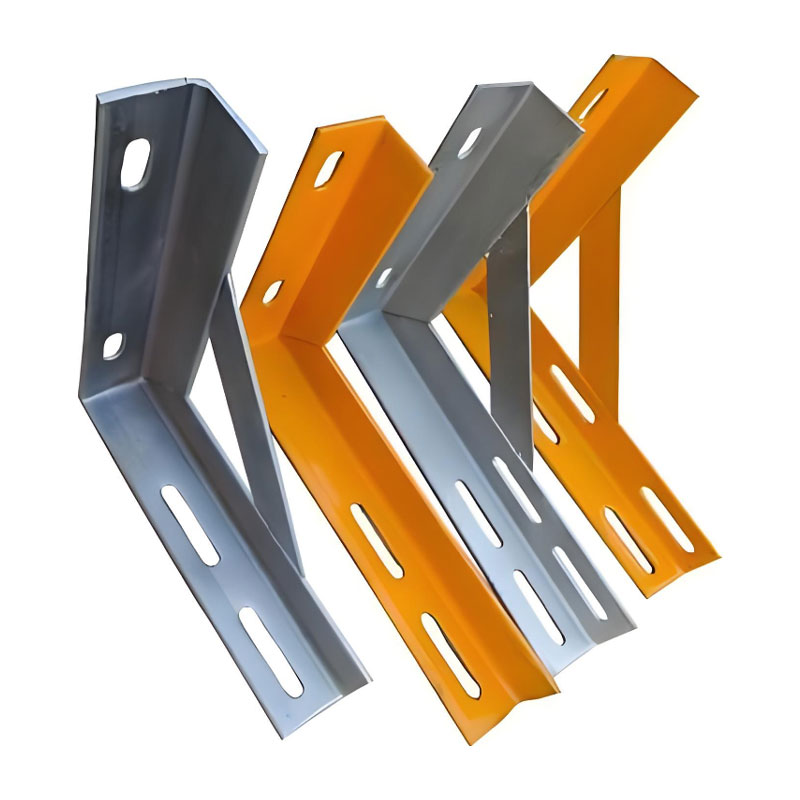
The L-Shaped Bracket for Natural Gas Pipes is a re...
-
Stainless Steel (201) Price: 8 USD (Other material...
-
Custom Square Aluminum & Stainless Steel Drain...


Contact info.
+86 17398066504 [email protected]
+86 17398066504
[email protected]
[email protected]
+86 17398066504
[email protected]
 +86-0574-63301198
 +86-13706742730
 No. 939, Qiye Road, Zhouxiang Town, Cixi City, Ningbo City, Zhejiang Province, China
Hot Products
Stainless Steel Equipment & Folding BBQ Grill Series Air Conditioner Drain Pan And Outdoor Unit Bracket Ventilation FansGet A Free Quote
Copyright © 2025 by Cixi Chenfeng Electric Co., Ltd All Rights Reserved. Air Conditioner Parts Manufacturers Stainless Steel Sheet Metal Parts Factory
